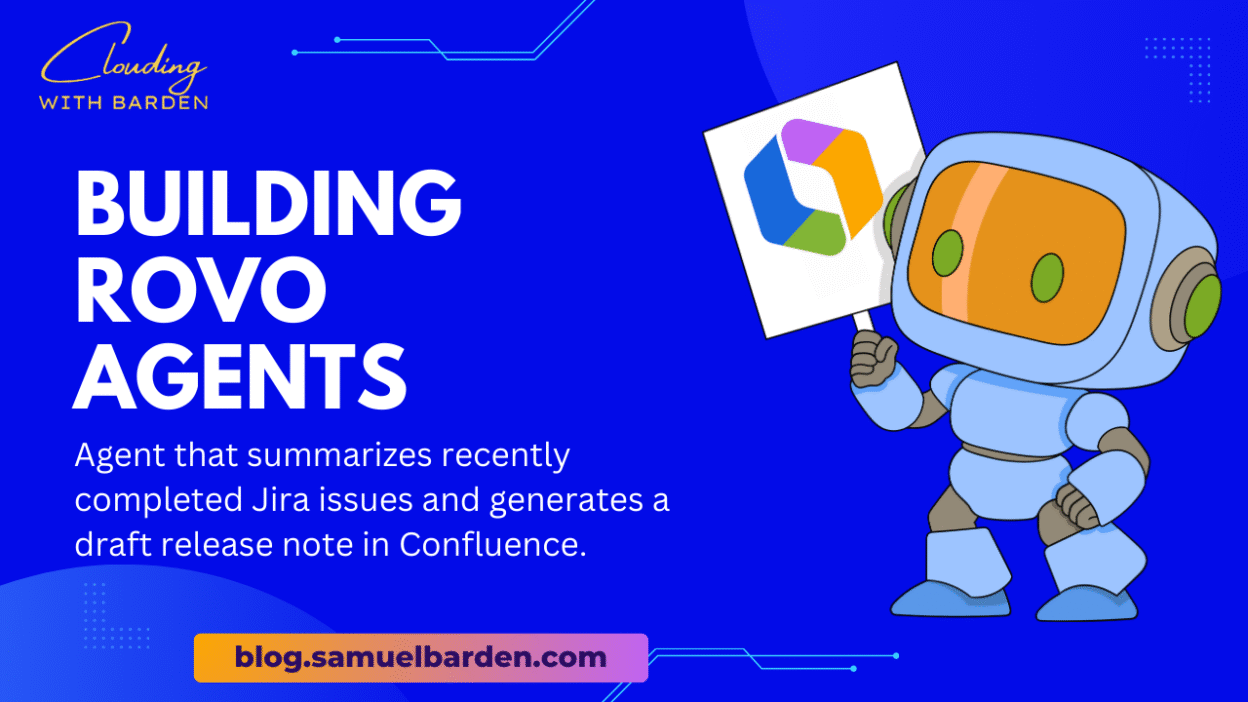
Creating your first Rovo agent doesn’t have to be complicated. The key is to start with a simple, repetitive task that delivers immediate value. In this tutorial, we’ll build an agent that summarizes recently completed Jira issues and generates a draft release note in Confluence.
Step 1: Choose a High-Impact Use Case
Before you start, pick something that happens often enough to be worth automating. Good candidates are:
- Release note drafts
- Backlog triage (sorting unassigned tickets)
- Meeting summaries
- Collecting common knowledge (like onboarding FAQs)
For this tutorial, I’ll use release notes, since it touches developers, QA, and product managers.
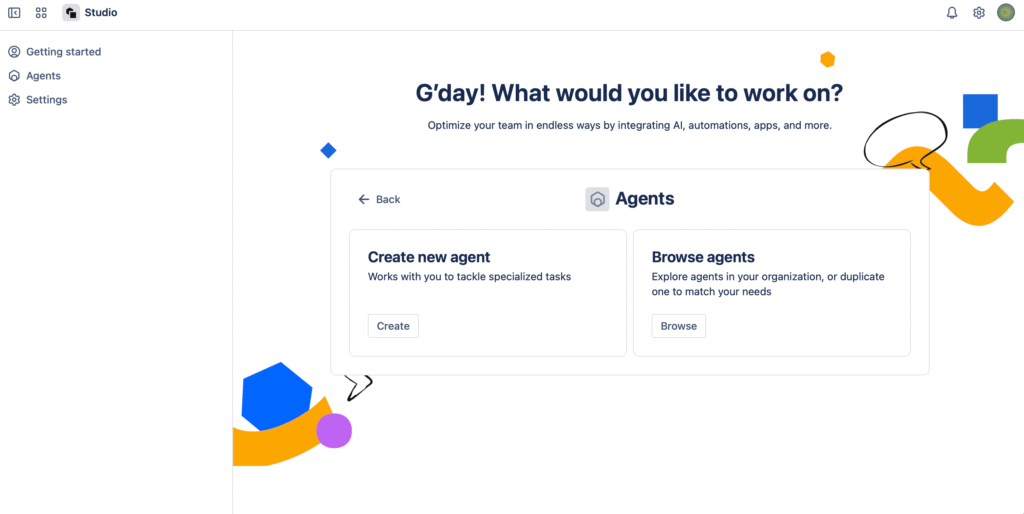
Step 2: Open Rovo Studio
- Go to your Atlassian Cloud instance (Jira or Confluence).
- In the top navigation, look for Rovo and click Studio.
- Select Create New Agent.
You’ll see a blank canvas for defining what your agent does.
Step 3: Define the Agent’s Purpose
Give your agent a clear name and description:
- Name: Sprint Release Notes Agent
- Description: Summarizes completed Jira issues from the last sprint and creates a draft Confluence page with categorized release notes.
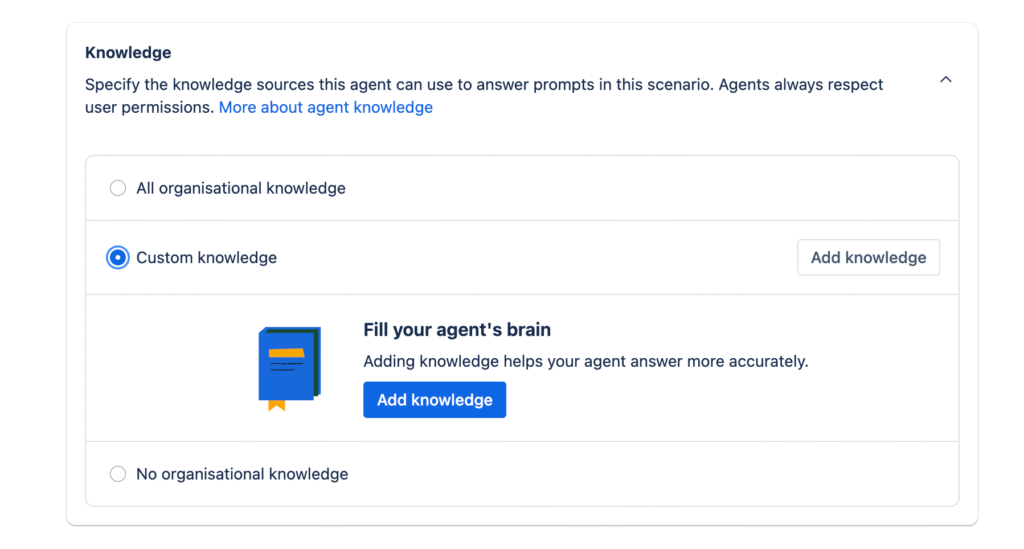
Step 4: Configure the Data Sources
Tell Rovo what to pull from:
- Jira Projects: Choose the project(s) where your team’s work lives.
- Filters: Configure it to pull only
Doneissues from the most recent sprint.
Rovo will respect Jira permissions, so users will only see issues they’re allowed to see.
Step 5: Craft the Agent’s Instructions (Prompt)
This is where you define what the agent should do. Be explicit but simple. Example:
“Collect all issues marked as Done from the last closed sprint.
Group them by issue type (Story, Bug, Task).
Generate a summary list with:
- Issue key
- Summary
- Linked ticket
Write in a friendly, professional tone suitable for internal release notes.
Output as markdown, with section headings for each issue type.”
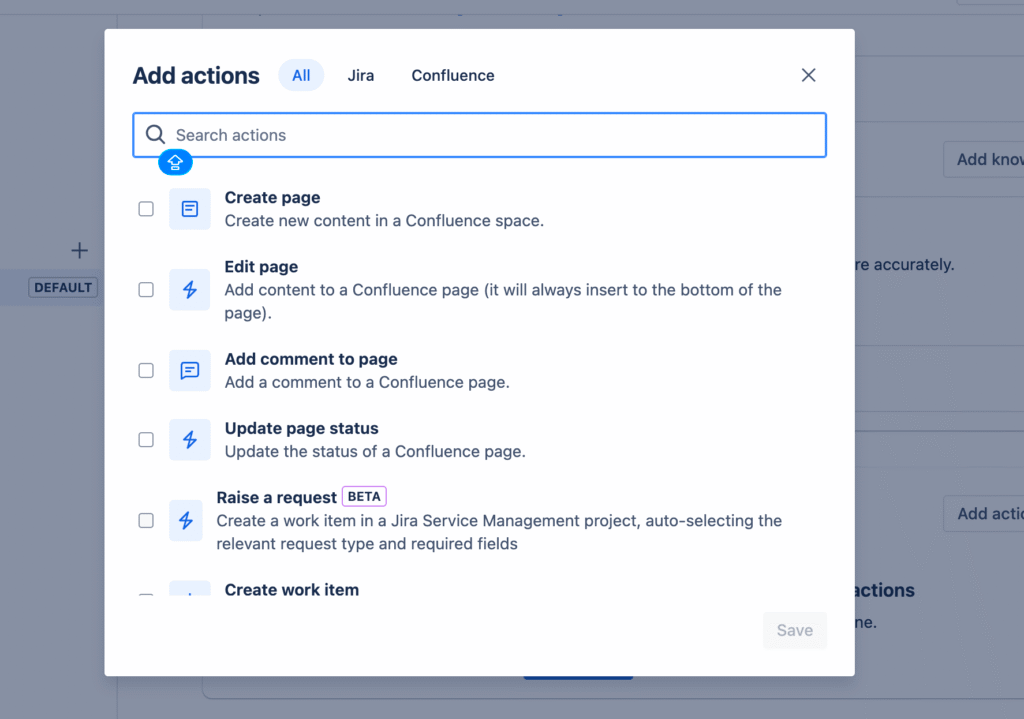
Step 6: Add an Output Action
Choose what happens with the result:
- Action: Create Confluence Page
- Parent Space/Page: Choose the “Release Notes” space or page where drafts should live.
- Page Title Template:
Release Notes - Sprint {{sprint.name}}
This makes sure every sprint generates a new page automatically.
Step 7: Test the Agent
Click Run Test inside Studio. Rovo will fetch sample data and generate a draft.
- Review the output — check that the tone, formatting, and grouping look right.
- If needed, adjust the prompt (“Write in bullet points” or “Add a one-sentence introduction at the top”) and re-test.
Step 8: Deploy and Share with Your Team
Once you’re satisfied:
- Save the agent.
- Publish it so your team can run it on demand after each sprint.
- Optionally, schedule it to run automatically at the end of each sprint (if supported in your plan).
Share the agent’s link with the team so anyone can trigger it when needed.
Step 9: Measure Success
After using it for 2–3 sprints, ask:
- Did it save time compared to writing release notes manually?
- Are the results clear and accurate?
- Do you need to tweak grouping, formatting, or tone?
Iterate until you have a reliable process.
What You Just Achieved
You now have a working Rovo agent that saves your team repetitive documentation work and creates consistent release notes. This is a great first step because it demonstrates Rovo’s ability to pull data, transform it, and act on it — without writing a line of code.
Once you’re comfortable, you can expand:
- Add labels or tags automatically to the Confluence page.
- Notify the team on Slack/Teams when the page is published.
- Build additional agents for triage, meeting summaries, or knowledge curation.
Stay Clouding!